How to use Adobe Voice on iPad to create beautiful videos by Stephen Ashby
Use the new Adobe Voice app to create simple but beautiful videos on your iPad
Adobe has released Adobe Voice, a new app for iPad that allows you to create quick and simple videos that you can show off to your friends.The free app, released today, enables you to record a short voice-over, then add icons or photos. Each one of these images makes up a ‘page’, and each page has its own voice-over. Whether you want to show off your holiday photos and explain what you are doing in each one, demonstrate a new idea or just tell a story, Adobe Voice will help.
There are a number of built-in icons and photos that you can use for free, or of course you can add any of your own images if you wish. The app may seem a little limited at first but there are so many options that it really does offer a great way to get creative.
You can make some truly brilliant videos with Voice, and we have helped you get started with a short tutorial. Read on to find out how you can use Adobe voice to create an amazing final clip.
Adobe Voice: Record your first video
1 Choose a structure
First, you can pick a story structure that fits the kind of idea you have. There are plenty of templates for you to work with, but if none of them fit your video you can always make up your own.
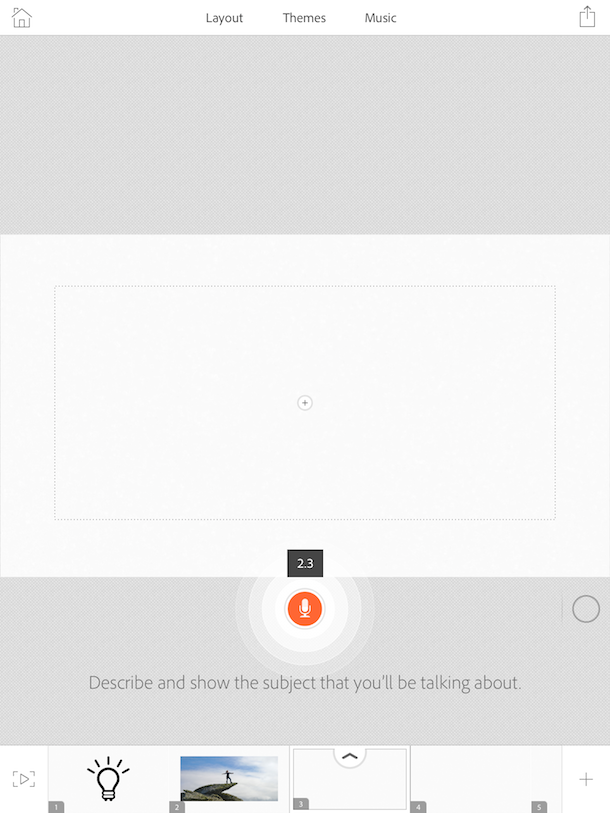
2 Record yourself
Before you add any images, tap and hold on the microphone icon to record your voice. Each page will need its own voice-over, so you can explain your ideas alongside imagery.
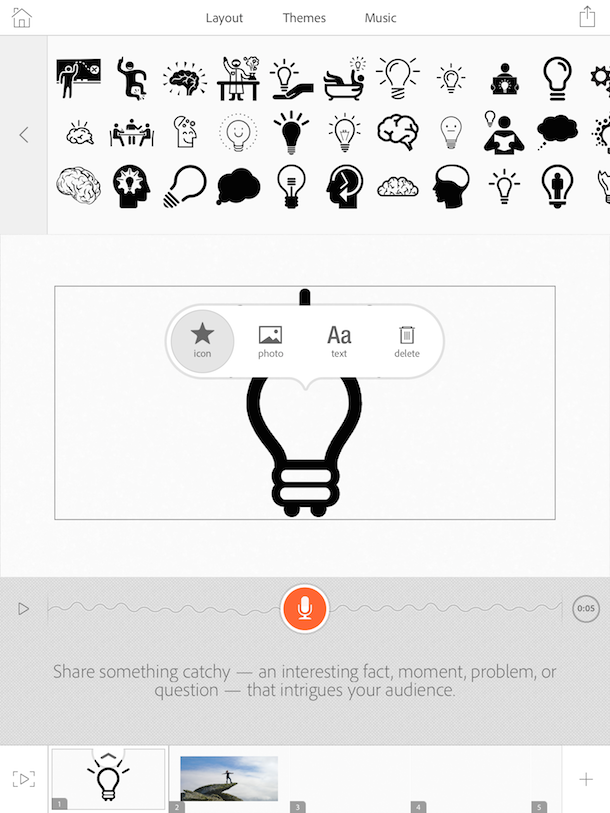
3 Add icons
Tap on the page to add icons, photos or text. In the icon view, type out a search term for the kind of icon you want to find. It can be as vague as ‘idea’ or as specific as ‘spaceship’ or ‘apple’.
![]()
4 Page type
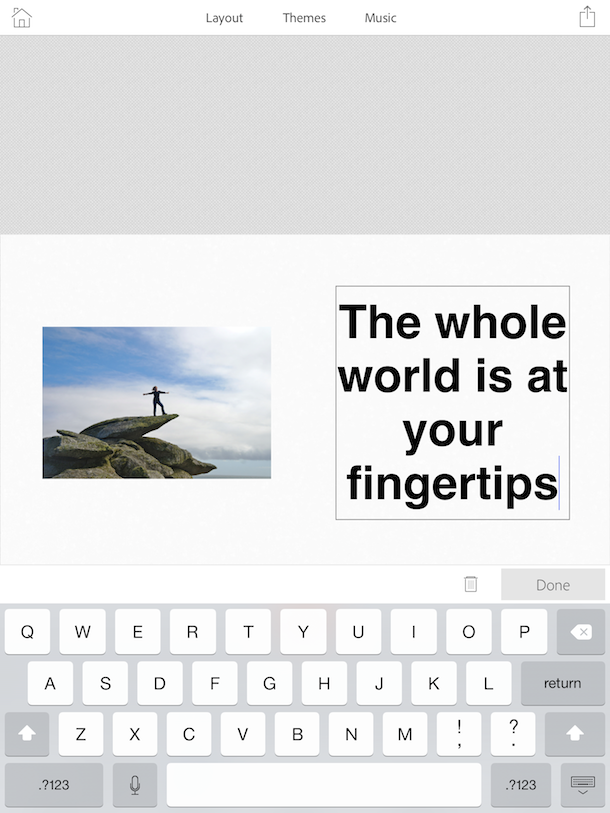
5 Text and photos
You can also add text or photos to your pages. Here, we’ve changed the layout of the page to feature two items alongside each other, but you can add photos in full-screen, or just text if you prefer.
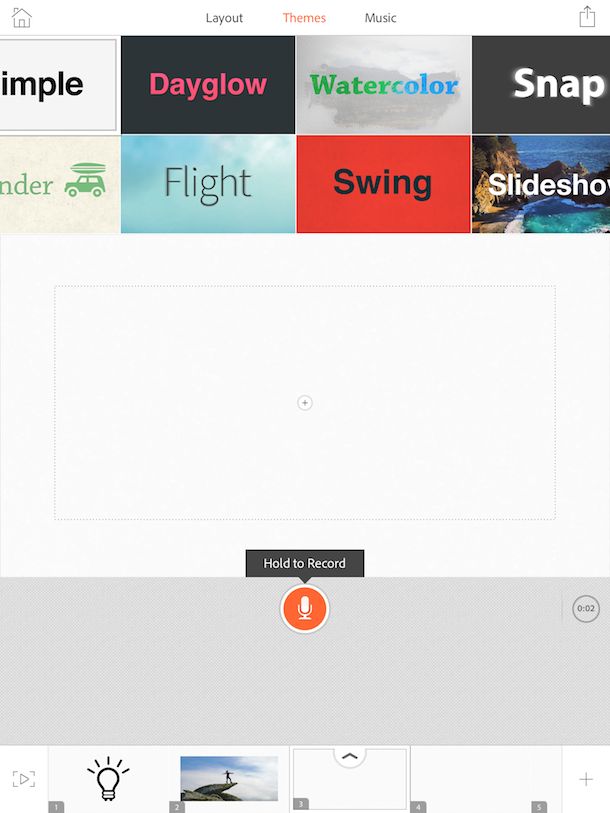
6 Theme
Tap the Themes section at the top of the screen to pick a main theme for your video. There are dozens to choose from, and each one gives your video a different feel. Try out a few different ones before you decide which is best.
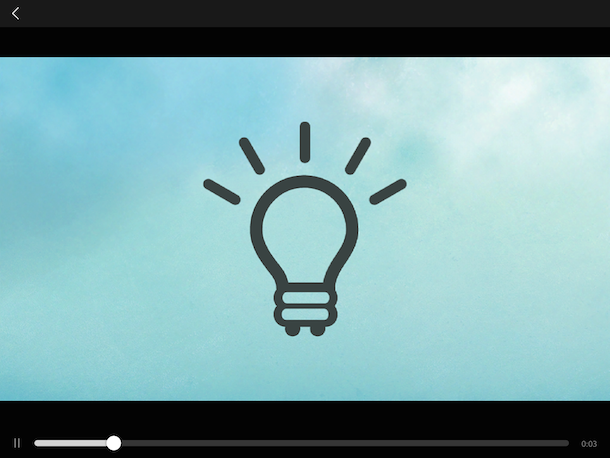
7 Preview your video
You can get a preview of your finished video at any time by tapping the Play button in the bottom-left corner of the screen. This will open your video up in full-screen so you can see what works and what needs work.
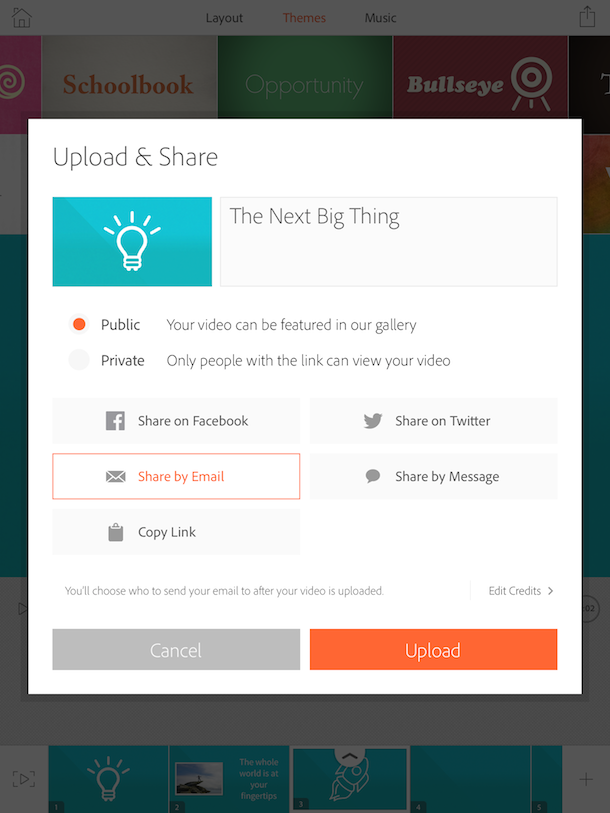
8 Share your Voice
When you’re happy with your video, tap the Share button in the top-right. You can add your photo to Adobe’s collection, or keep your video more private and just send it to friends via social networks or through email.


Deja una respuesta